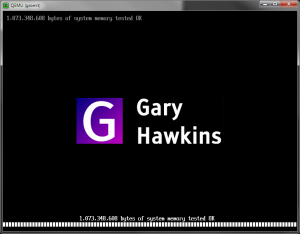
This is just one of those things you always wish you could do on a real piece of hardware, just “cos you can”, but once you can, you never actually do it. But, now, you can actually “roll your own BIOS” when it comes to running virtual machines. Two methods you can use with qemu/kvm – the first is the SeaBIOS package, which you can compile to produce a traditional 16-bit BIOS (though quite why you’d want to add a logo to that is beyond me, since the boot screen only appears for one or two seconds, tops); and secondly OVMF, which comes as part of the TianoCore EDK II UEFI development kit, which can (optionally) use a specially compiled version of SeaBIOS to provide a Compatiblity Support Module so that it can emulate a BIOS as well as being UEFI firmware.
As it so happens, it is possible to add a custom logo to the OVMF UEFI code. I’ll assume you’re already familiar with how to roll your own UEFI here from the source.
- Create a BMP file using your favourite graphics program – use a black background. Don’t make it any bigger than the logo size itself (i.e. don’t make it full screen)
- Save it as an 8-bit BMP file with 256 colours (note: GIMP 2.8 appears to be buggy in this regard and actually saves the image with the wrong number of bits even if the palette size is only 256 – I had to import the 24-bit file into Paint.net and save it as 8-bit from that)
- Copy it to the EDK source tree into the directory $EDK_HOME/MdeModulePkg/Logo/Logo.bmp (back up the existing one first)
- Compile your OVMF UEFI firmware
- That’s it!
And here’s the result … (click the image for a better look)
Update: It’s been a long time since I’ve tried this, but it appears you can actually use 24-bit BMP files now (on the 202311 release of OVMF). According to the source code they must not be compressed, so no RLE encoding or anything like that. I’ve had success today with a 24-bit colour uncompressed BMP image, uncompressed, 640 pixels wide. You may or may not need imagemagick installed for this to work.

